Setup and Installation
This page walks you through importing LuminousOasis into a new Unity project and reaching the point where the scene opens correctly.
Required environment
- Unity 2022.3 LTS
- VRChat Creator Companion
- VRChat SDK3 Worlds
- TextMeshPro
- VRC Light Volumes
1. Install VCC and create a new project
Install Creator Companion from the VRChat website and create a new project for worlds.
LuminousOasis is not compatible with older LuminousHotel projects from before version 2.0. Installing it there can break the scene or its saved settings. Always create a new project first when using LuminousOasis.
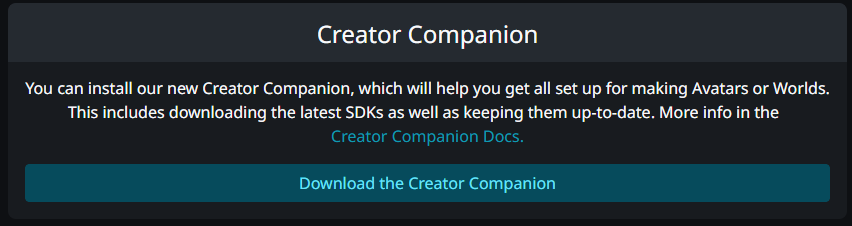
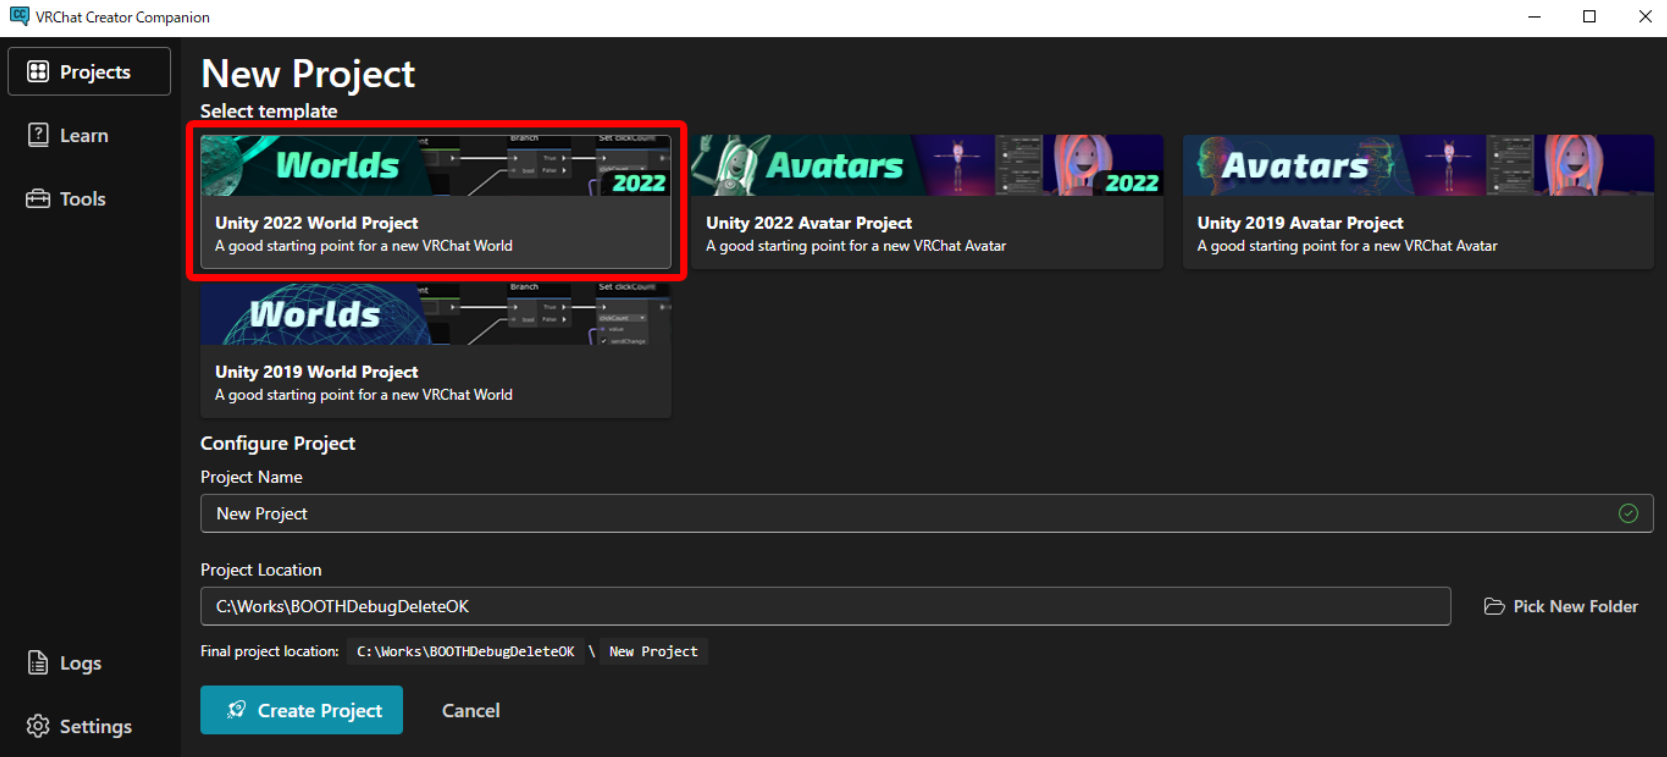
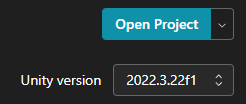
Creating a new project is recommended over adding the asset to an existing one. In particular, avoid adding it to a project that already contains LuminousHotel from before version 2.0. After creating the project, open Unity with Open Project.
Do not add it to an existing project. Set it up from a fresh project.
Choose the settings intended for worlds and click Create Project. The exact wording may change when VRChat updates VCC.
2. Add VRC Light Volumes
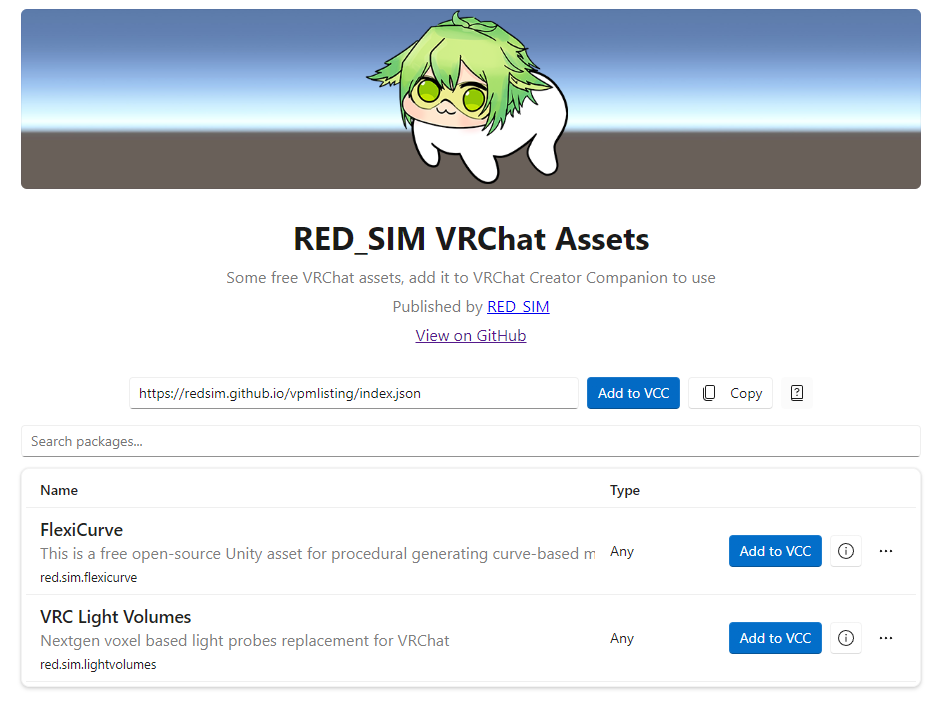
LuminousOasis uses VRC Light Volumes. Register it in VCC and import it into the target project before continuing.
- Open VPM Listing
- Click Add to VCC to register it with Creator Companion
- Open Manage Project for the target project
- Add VRC Light Volumes from Manage Packages
- Check the Installed Version and import it


Once that is done, the prerequisites are complete.
3. Import the UnityPackages
Import the required UnityPackages based on how you plan to use the asset.
Using LuminousOasis by itself
- LuminousOasis
Using it together with LuminousHotel
- Condominium_701
- SimpleRoom_702
- LuminousHotel_FullPack
- LuminousOasis
When combining it with LuminousHotel, only the Full Pack setup is supported. Import the hotel-side packages first, then import LuminousOasis.unitypackage.
When using LuminousOasis together with LuminousHotel, only the Full Pack configuration is supported.
If you imported into an existing project, duplicate shaders may be causing the issue. Delete one of the conflicting shaders or create a new project.
4. Import TextMeshPro Essentials
If the TMP Importer appears after import, run Import TMP Essentials.
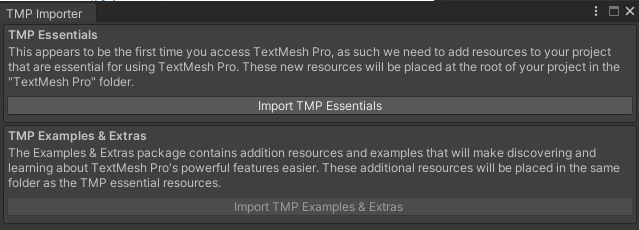
This package is required for text rendering. If you imported it after opening the scene, try reopening the scene.
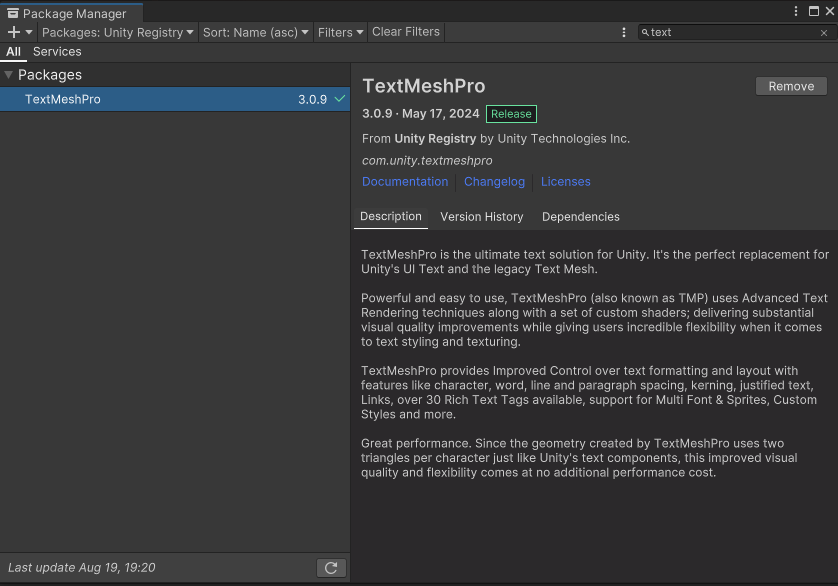
If you closed the TMP window, open Package Manager from Window and install TextMeshPro from the Unity Registry.
5. Open the scene
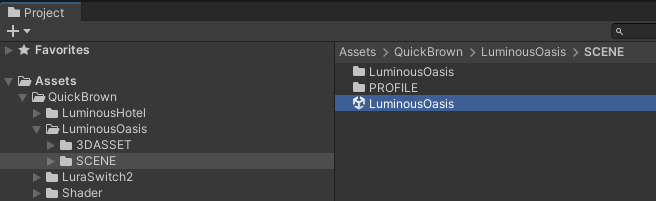
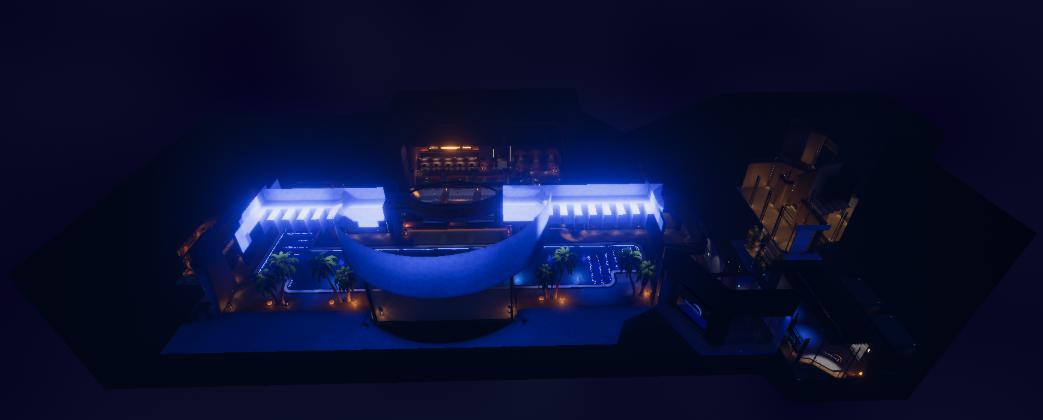
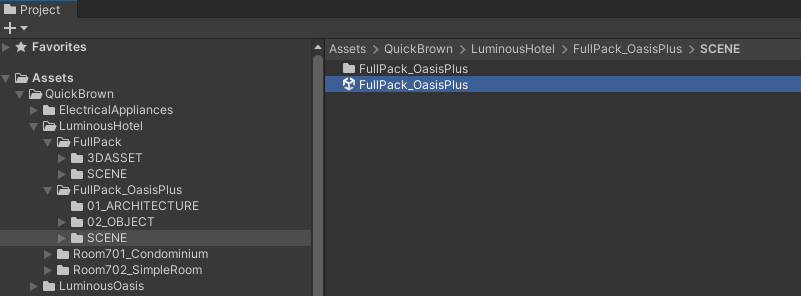
Open the scene by double-clicking it in the Project window. If you drag and drop it, Unity treats it as a multi-scene setup and the project will not be configured correctly.
Dragging and dropping a scene causes Unity to treat it as a multi-scene setup and prevents correct configuration.
LuminousOasis only
Assets/QuickBrown/LuminousOasis/SCENE/LuminousOasis.unity
Using it together with LuminousHotel
Assets/QuickBrown/LuminousHotel/FullPack_OasisPlus/SCENE/FullPack_OasisPlus.unity
Next page
Continue to Initial Scene Setup to configure RoomOwner and BGM.