Setup and Installation
This page walks you through importing LuminousHotel into a new Unity project and reaching the point where the scene can be opened correctly.
Required environment
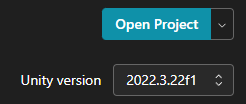
- Unity 2022.3 LTS
- VRChat Creator Companion
- VRChat SDK3 Worlds
- TextMeshPro
- VRC Light Volumes
1. Install VCC and create a new project
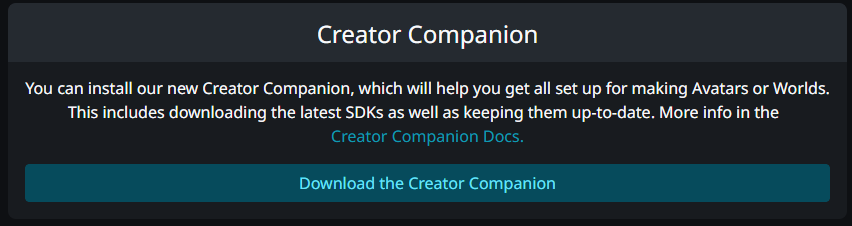
Install VRChat Creator Companion from the VRChat website.
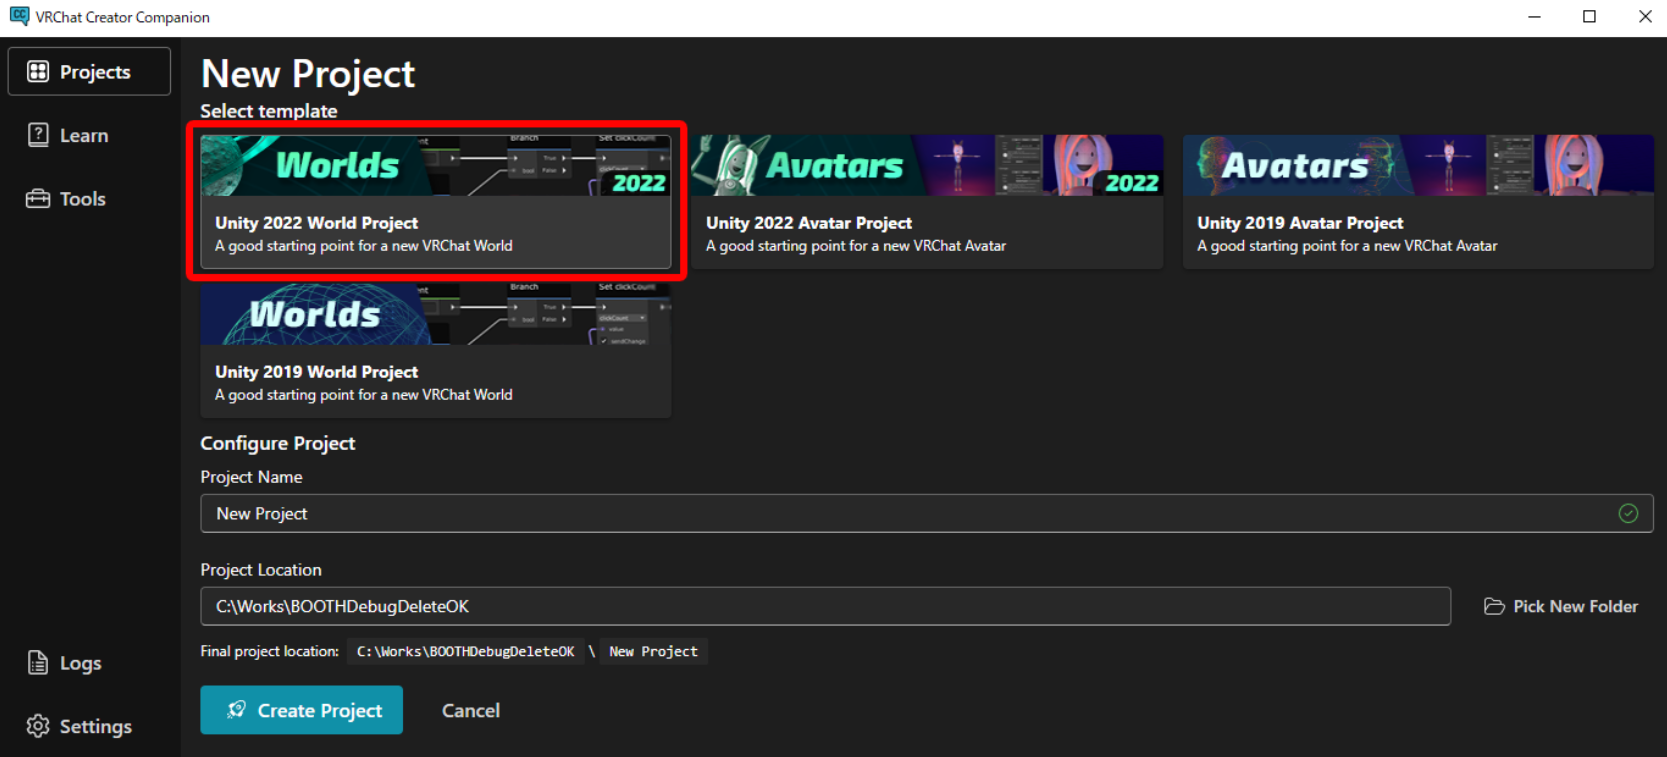
Unless you have a specific reason not to, creating a new project is recommended over adding the asset to an existing one. Choose a world template and click Create Project.
2. Add VRC Light Volumes
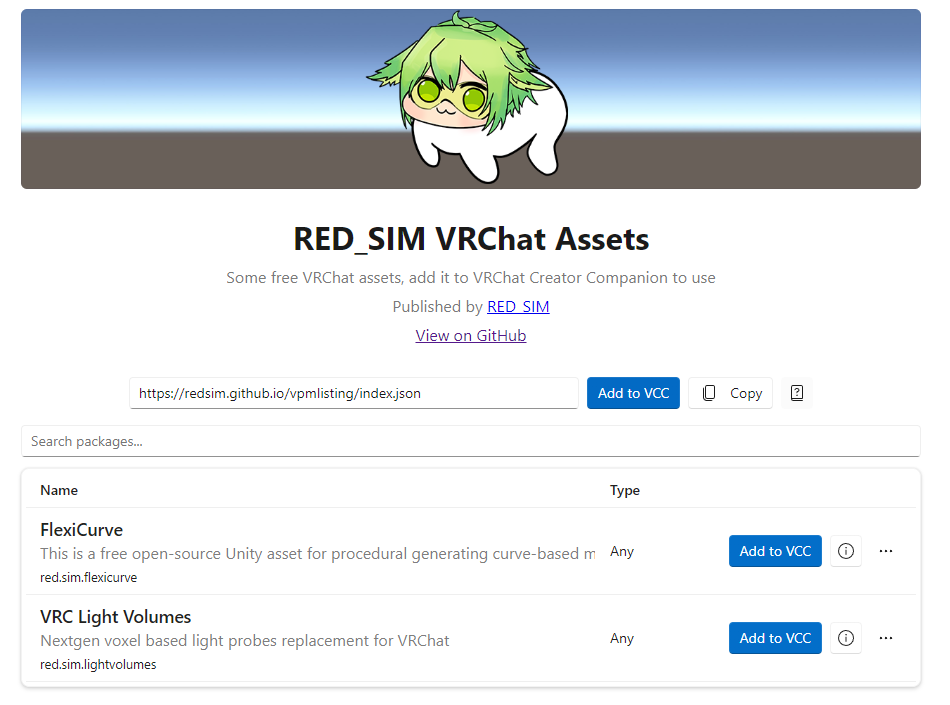
LuminousHotel ver1.10 and later supports VRC Light Volumes. Register it with VCC before importing the world.
- Open VPM Listing
- Click Add to VCC to register it with Creator Companion
- Open Manage Project for the target project
- Add VRC Light Volumes from Manage Packages
- Update Installed Version to the latest version and import it


Once LuminousHotel ver1.10 or later is imported, the light volume settings are already applied when the scene opens.
3. Add lilToon
Open the official lilToon website and use Add to VCC to install the latest lilToon package.
- Open the official lilToon website
- Click Add to VCC to register it with Creator Companion
- Open Manage Project for the target project
- Add lilToon from Manage Packages
- Update Installed Version to the latest version and import it
4. Import the UnityPackages
Import all UnityPackages that correspond to the pack you purchased.
Full Pack
- SimpleRoom_702
- Condominium_701
- LuminousHotel_FullPack
The Full Pack must be imported last.
If you import it earlier, the room key may stop working.
If the order was wrong, re-import the packages and reopen the scene.
Condominium 701 and 702
- SimpleRoom_702
- Condominium_701
SimpleRoom 702
- SimpleRoom_702
If you import into an existing project, shader conflicts can make the entire scene turn pink. If the cause is difficult to isolate, setting up a new project is the safer option.
5. Import TextMeshPro Essentials
If the TMP Importer appears after import, run Import TMP Essentials.
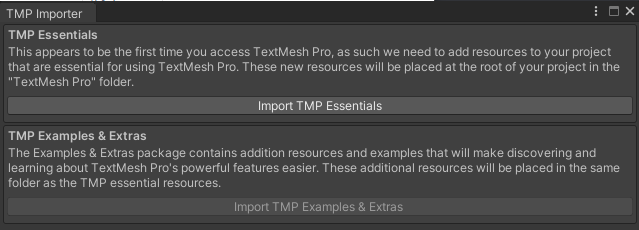
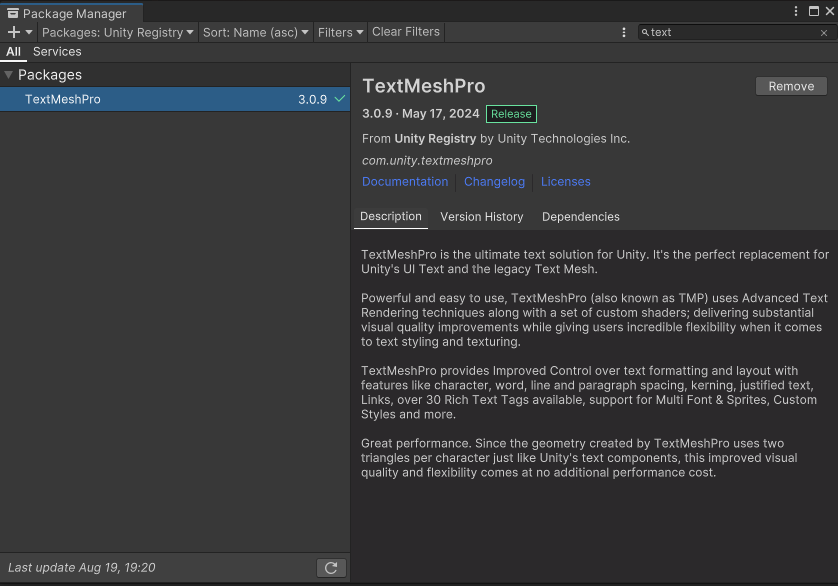
If you opened the scene first and then installed TMP, reopen the scene so the display can refresh correctly. If you closed the window, open Package Manager from Window, then install TextMeshPro from the Unity Registry.
6. Open the scene
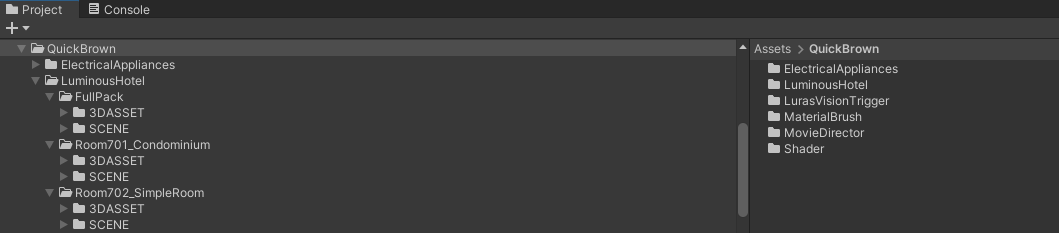
Open the following scenes by double-clicking them in the Project window. If you drag and drop them, Unity treats them as a multi-scene setup, and the project will not be configured correctly.
Dragging and dropping a scene causes Unity to treat it as a multi-scene setup and prevents correct configuration.
Full Pack
Assets/QuickBrown/LuminousHotel/FullPack/SCENE/LuminousHotel_FullPack.unity
Condominium 701
Assets/QuickBrown/LuminousHotel/Room701_Condominium/SCENE/Condominium_701.unity
SimpleRoom 702
Assets/QuickBrown/LuminousHotel/Room702_SimpleRoom/SCENE/SimpleRoom_702.unity
Next page
Continue to Initial Scene Setup to configure RoomOwner and the sign plates.